 Everett, Annika, and I have all been bitten by the Field Archery bug and wanted to be able to practice at home. So we bought some archery target bags, some paper targets and now just need a stand to hang them on as well as a stand to rest our bows on when we need to retrieve our arrows. I picked up the lumber the other day when out with my husband and asked the eldest if he'd like to start Wood shop for an elective. He said "Sure, what are we going to make" I decided we'd start with the bow stand because the lumber for the target stands is still a little wet from sitting at the outdoor lumber yard at Home Depot.
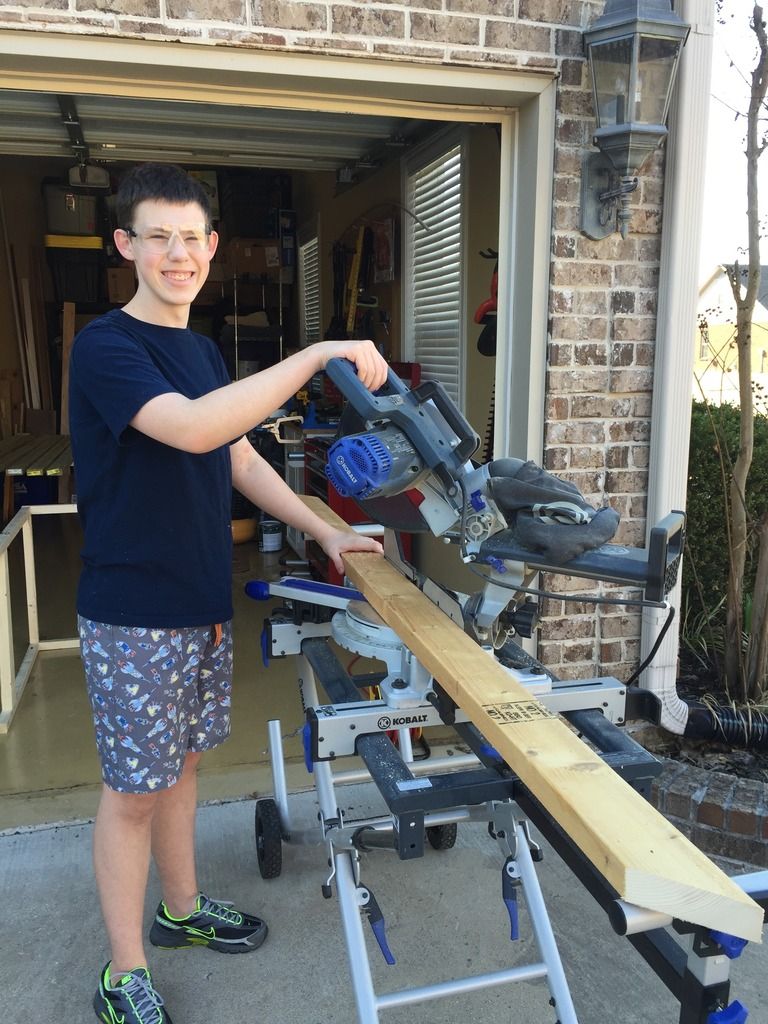
 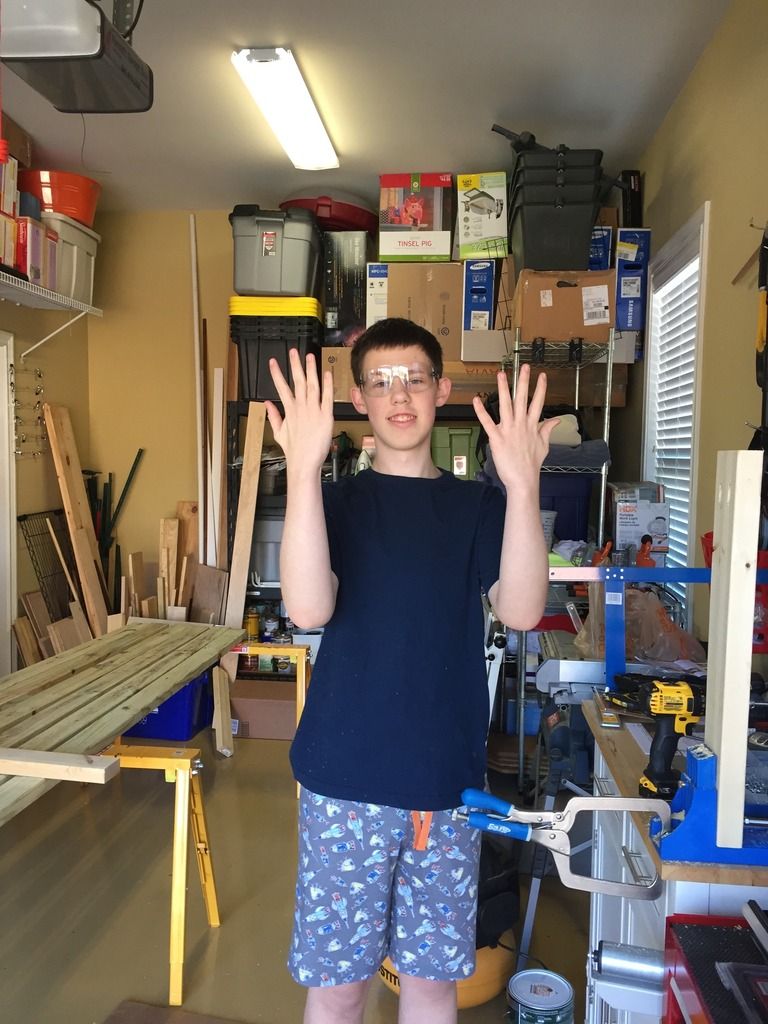 After getting home from our day at Archery league, we started on the bow stand. We got Bruce the Sliding Compound Miter saw out, as he was the only saw we'd need, then we got the Kreg pocket hole jig set up and got the drill fitted with the Kreg drill bit.
 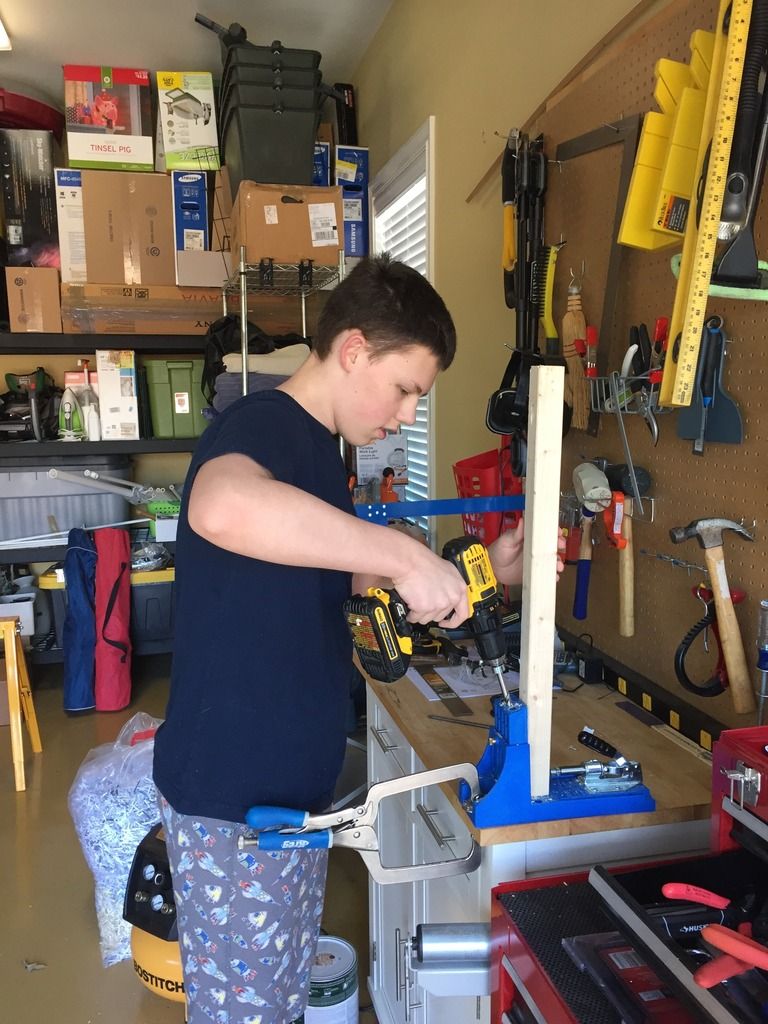 I showed Ev how to mark the measurement, use the speed square to make a straight line, how to line up Bruce's blade and how to abide by the 7=10 rule I have for using Bruce. What is the 7=10 rule you ask? It's simple keep your wood holding hand 7 inches away from his blade and you'll make sure to keep all 10 of the digits on your hands.
 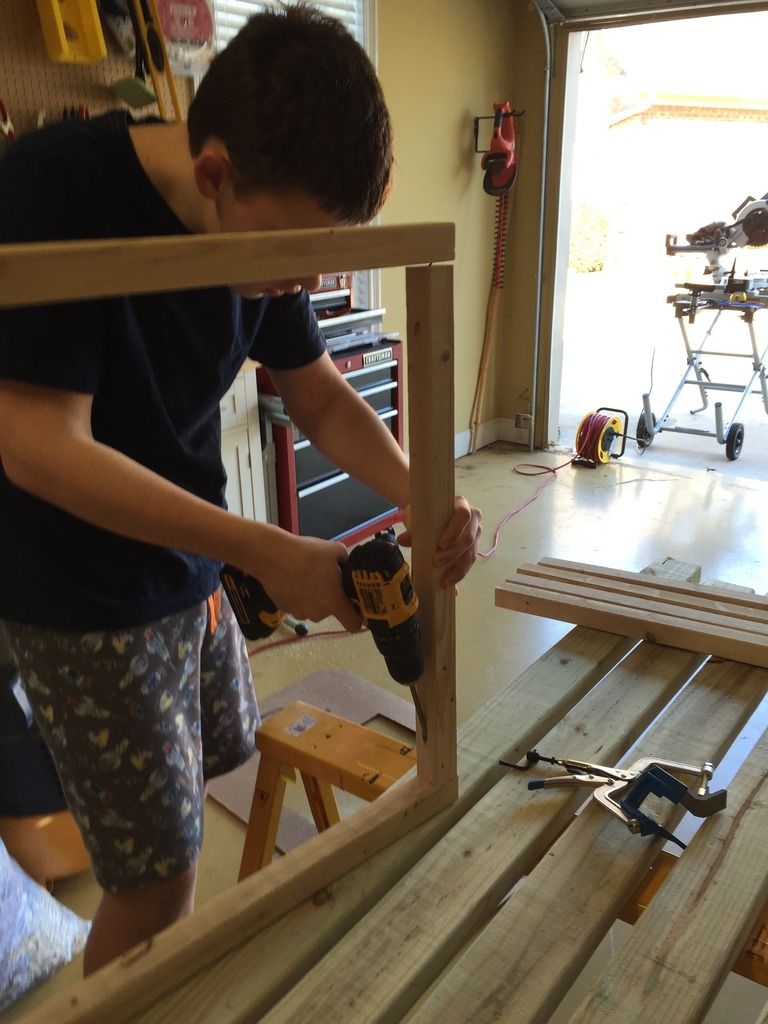 After cutting the frame to hold the bows and the legs I showed him how to use the Kreg Jig, drill bit and screwdriver bit to drill the pocket holes and connect all the pieces.
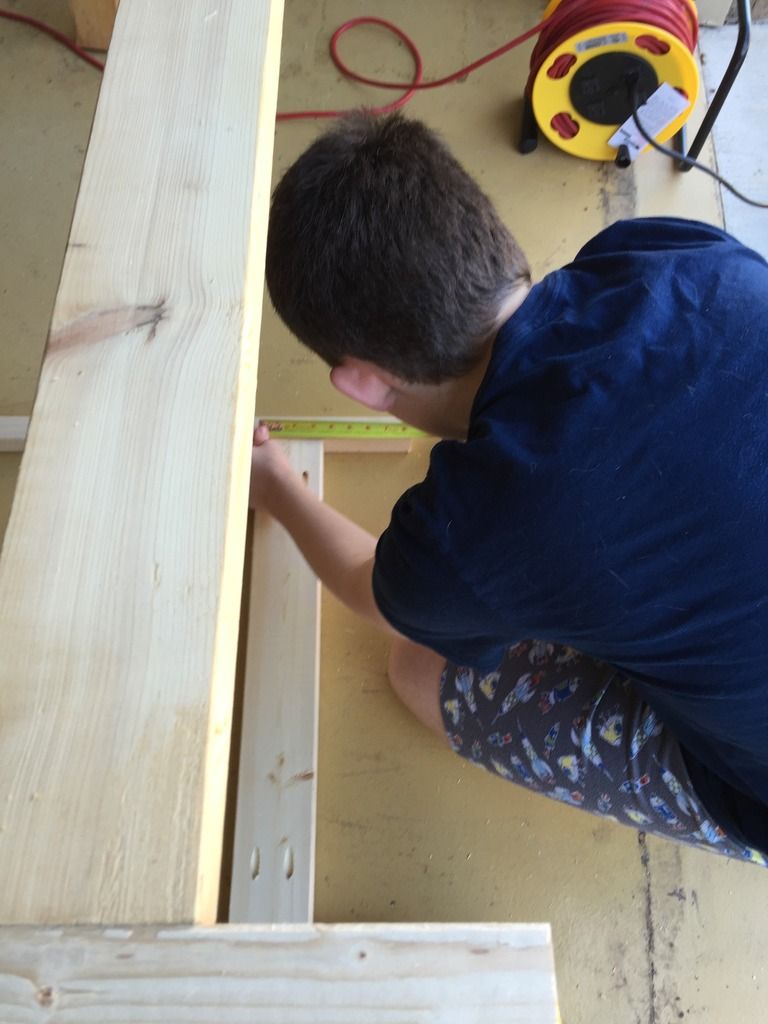
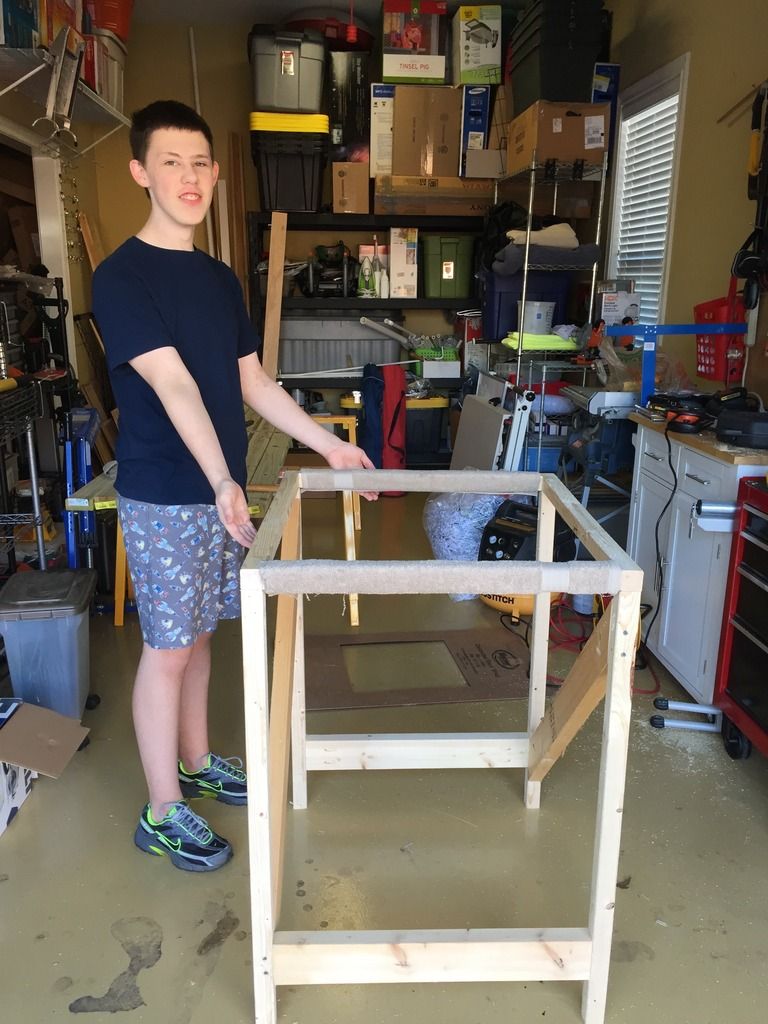 Once that was all done we dug through the scrap wood pile and found some bit of 2x4 that would work great for bracing on the legs. He opted for straight bracing on two sides and angle bracing on the opposite two sides, so I showed him how to measure rotate Bruce to a 45º cutting angle and how to cut one side to the proper angle, then use the leg of the stand to mark the other side so you get the proper length. He then cut the 2nd angle brace all on his own. We decided to not use pocket holes on the angle bracing and just drive a few deck screws through the legs into the bracing.
 Lastly we cut a towel down wrapped and used the electric staple gun to attach it to the frame where the bows will rest to keep them from getting scuffed.
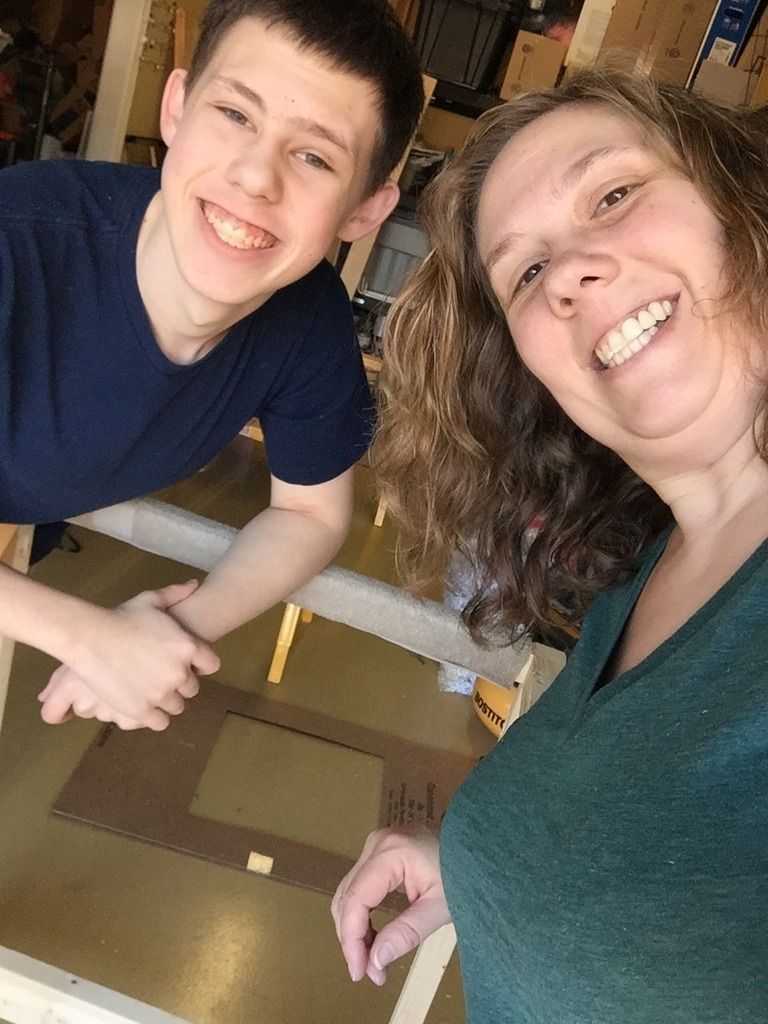
 He did a great job and I'm proud to say he wasn't afraid of any of the tools! He also asked if he could use some of the scrap wood I have to build himself a little lap desk for his room. I'm one super proud mom!

No comments:
Post a Comment